Schema Assertions
Schema Assertions
The Schema Assertions feature is available as part of the Acryl Observe module of DataHub Cloud. If you are interested in learning more about Acryl Observe or trying it out, please visit our website.
Introduction
Can you remember a time when columns were unexpectedly added, removed, or altered for a key Table in your Data Warehouse? Perhaps this caused downstream tables, views, dashboards, data pipelines, or AI models to break.
There are many reasons why the structure of an important Table on Snowflake, Redshift, or BigQuery may schema change, breaking the expectations of downstream consumers of the table.
What if you could reduce the time to detect these incidents, so that the people responsible for the data were made aware of data issues before anyone else? With DataHub Cloud Schema Assertions, you can.
DataHub Cloud allows users to define expectations about a table's columns and their data types, and will monitor and validate these expectations over time, notifying you when a breaking change occurs.
In this article, we'll cover the basics of monitoring Schema Assertions - what they are, how to configure them, and more - so that you and your team can start building trust in your most important data assets.
Let's get started!
Support
Schema Assertions are currently supported for all data sources that provide a schema via the normal ingestion process.
What is a Schema Assertion?
A Schema Assertion is a Data Quality rule used to monitor the columns in a particular table and their data types. They allow you to define a set of "required" columns for the table along with their expected types, and then be notified if anything changes via a failing assertion.
This type of assertion can be particularly useful if you want to monitor the structure of a table which is outside of your direct control, for example the result of an ETL process from an upstream application or tables provided by a 3rd party data vendor. It allows you to get ahead of potentially breaking schema changes, by alerting you as soon as they occur, and before they have a chance to negatively impact downstream assets.
Anatomy of a Schema Assertion
At the most basic level, Schema Assertions consist of a few important parts:
- A Condition Type
- A set of Expected Columns
In this section, we'll give an overview of each.
1. Condition Type
The Condition Type defines the conditions under which the Assertion will fail. More concretely, it determines how the expected columns should be compared to the actual columns found in the schema to determine a passing or failing state for the data quality check.
The list of supported condition types:
- Contains: The assertion will fail if the actual schema does not contain all expected columns and their types.
- Exact Match: The assertion will fail if the actual schema does not EXACTLY match the expected columns and their types. No additional columns will be permitted.
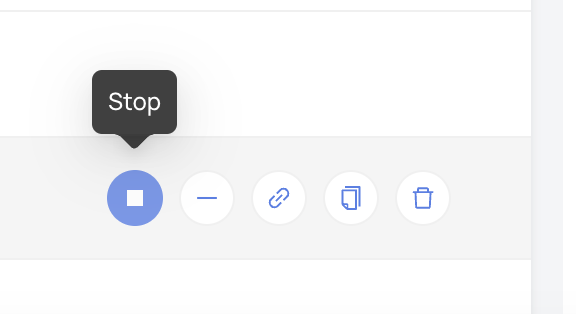
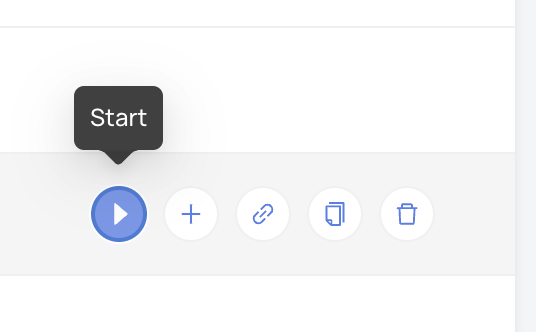
Schema Assertions will be evaluated whenever a change in the schema of the underlying table is detected. They also have an off switch: they can be started or stopped at any time by pressing the start (play) or stop (pause) buttons.
2. Expected Columns
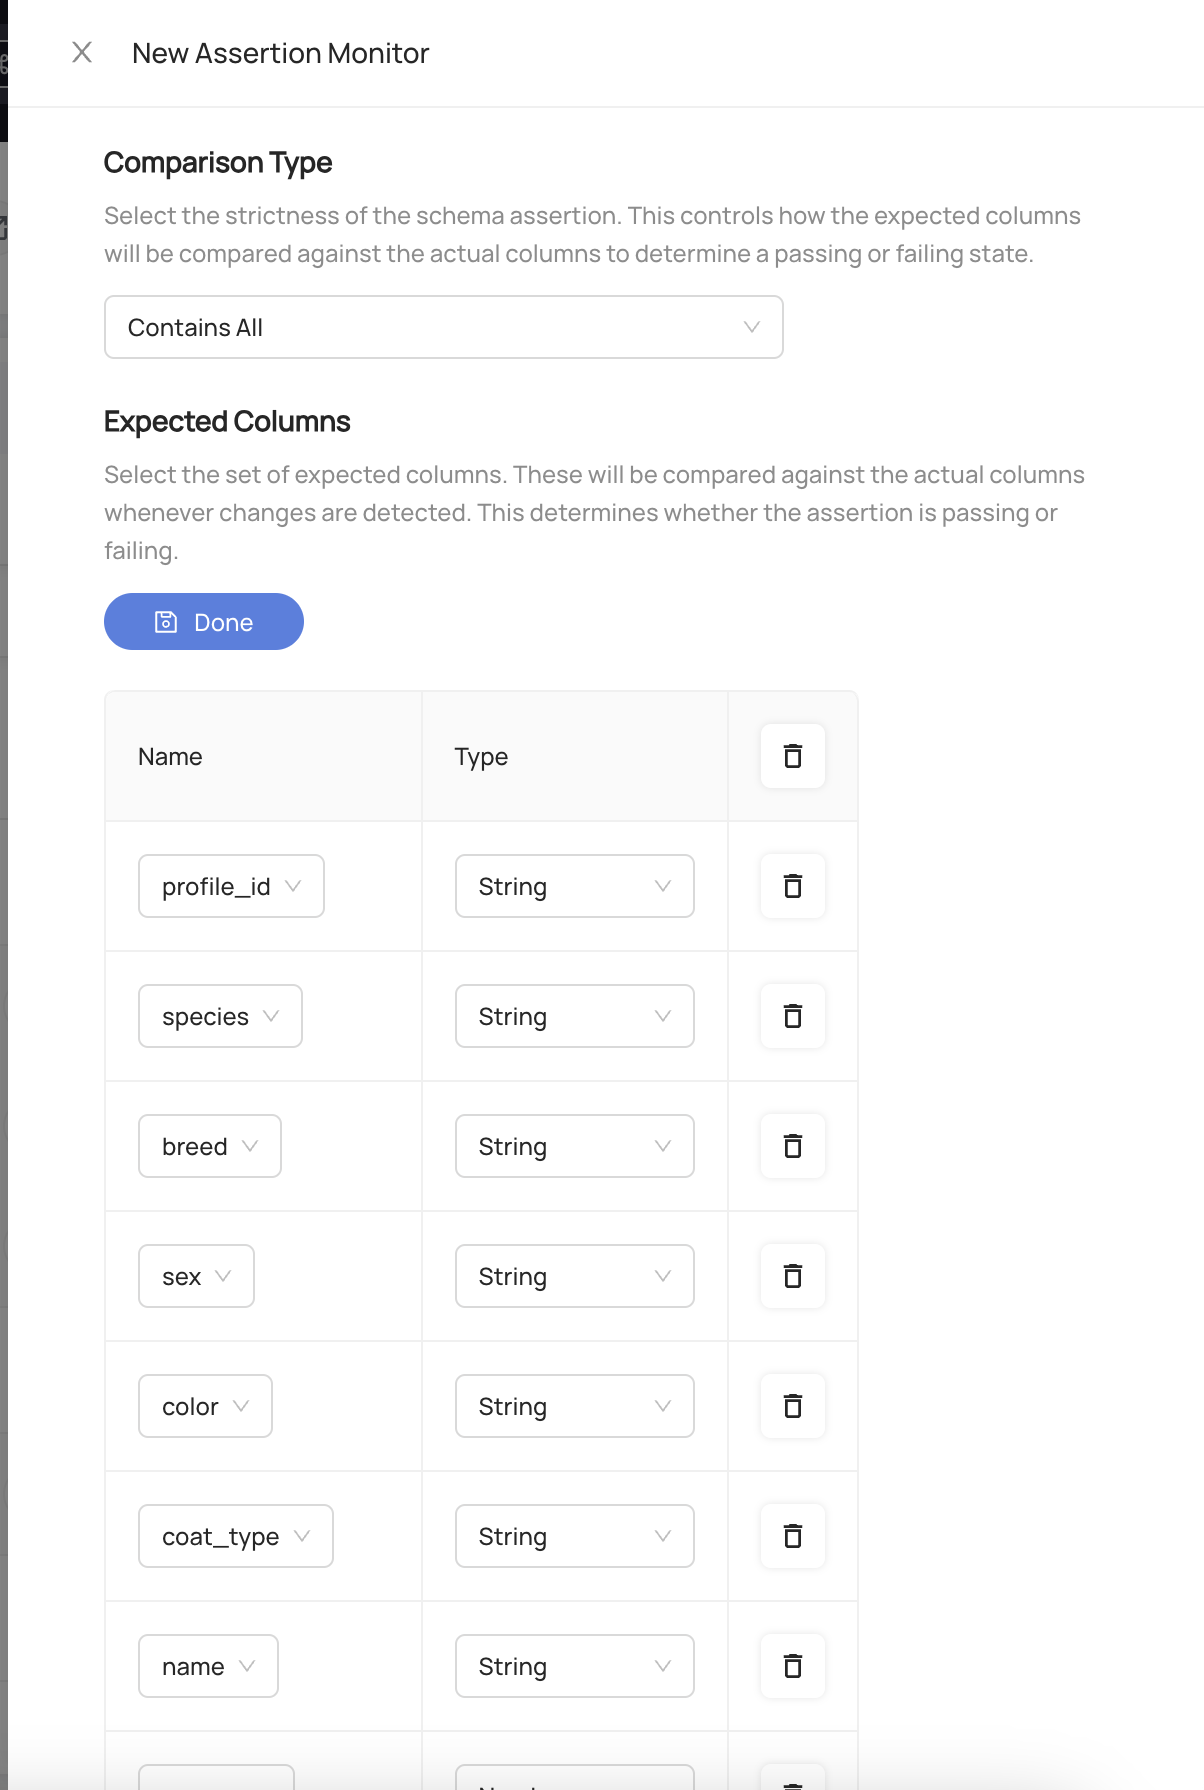
The Expected Columns are a set of column names along with their high-level data types that should be used to compare against the actual columns found in the table. By default, the expected column set will be derived from the current set of columns found in the table. This conveniently allows you to "freeze" or "lock" the current schema of a table in just a few clicks.
Each "expected column" is composed of a
Name: The name of the column that should be present in the table. Nested columns are supported in a flattened fashion by simply providing a dot-separated path to the nested column. For example,
user.idwould be a nested columnid. In the case of a complex array or map, each field in the elements of the array or map will be treated as dot-delimited columns. Note that verifying the specific type of object in primitive arrays or maps is not currently supported. Note that the comparison performed is currently not case-sensitive.Type: The high-level data type of the column in the table. This type intentionally "high level" to allow for normal column widening practices without the risk of failing the assertion unnecessarily. For example a
varchar(64)and avarchar(256)will both resolve to the same high-level "STRING" type. The currently supported set of data types include the following:- String
- Number
- Boolean
- Date
- Timestamp
- Struct
- Array
- Map
- Union
- Bytes
- Enum
Creating a Schema Assertion
Prerequisites
- Permissions: To create or delete Schema Assertions for a specific entity on DataHub, you'll need to be granted the
Edit Assertions,Edit Monitorsprivileges for the entity. This will be granted to Entity owners as part of theAsset Owners - Metadata Policyby default.
Once these are in place, you're ready to create your Schema Assertions!
Steps
- Navigate to the Table you want to monitor
- Click the Validations tab

- Click + Create Assertion
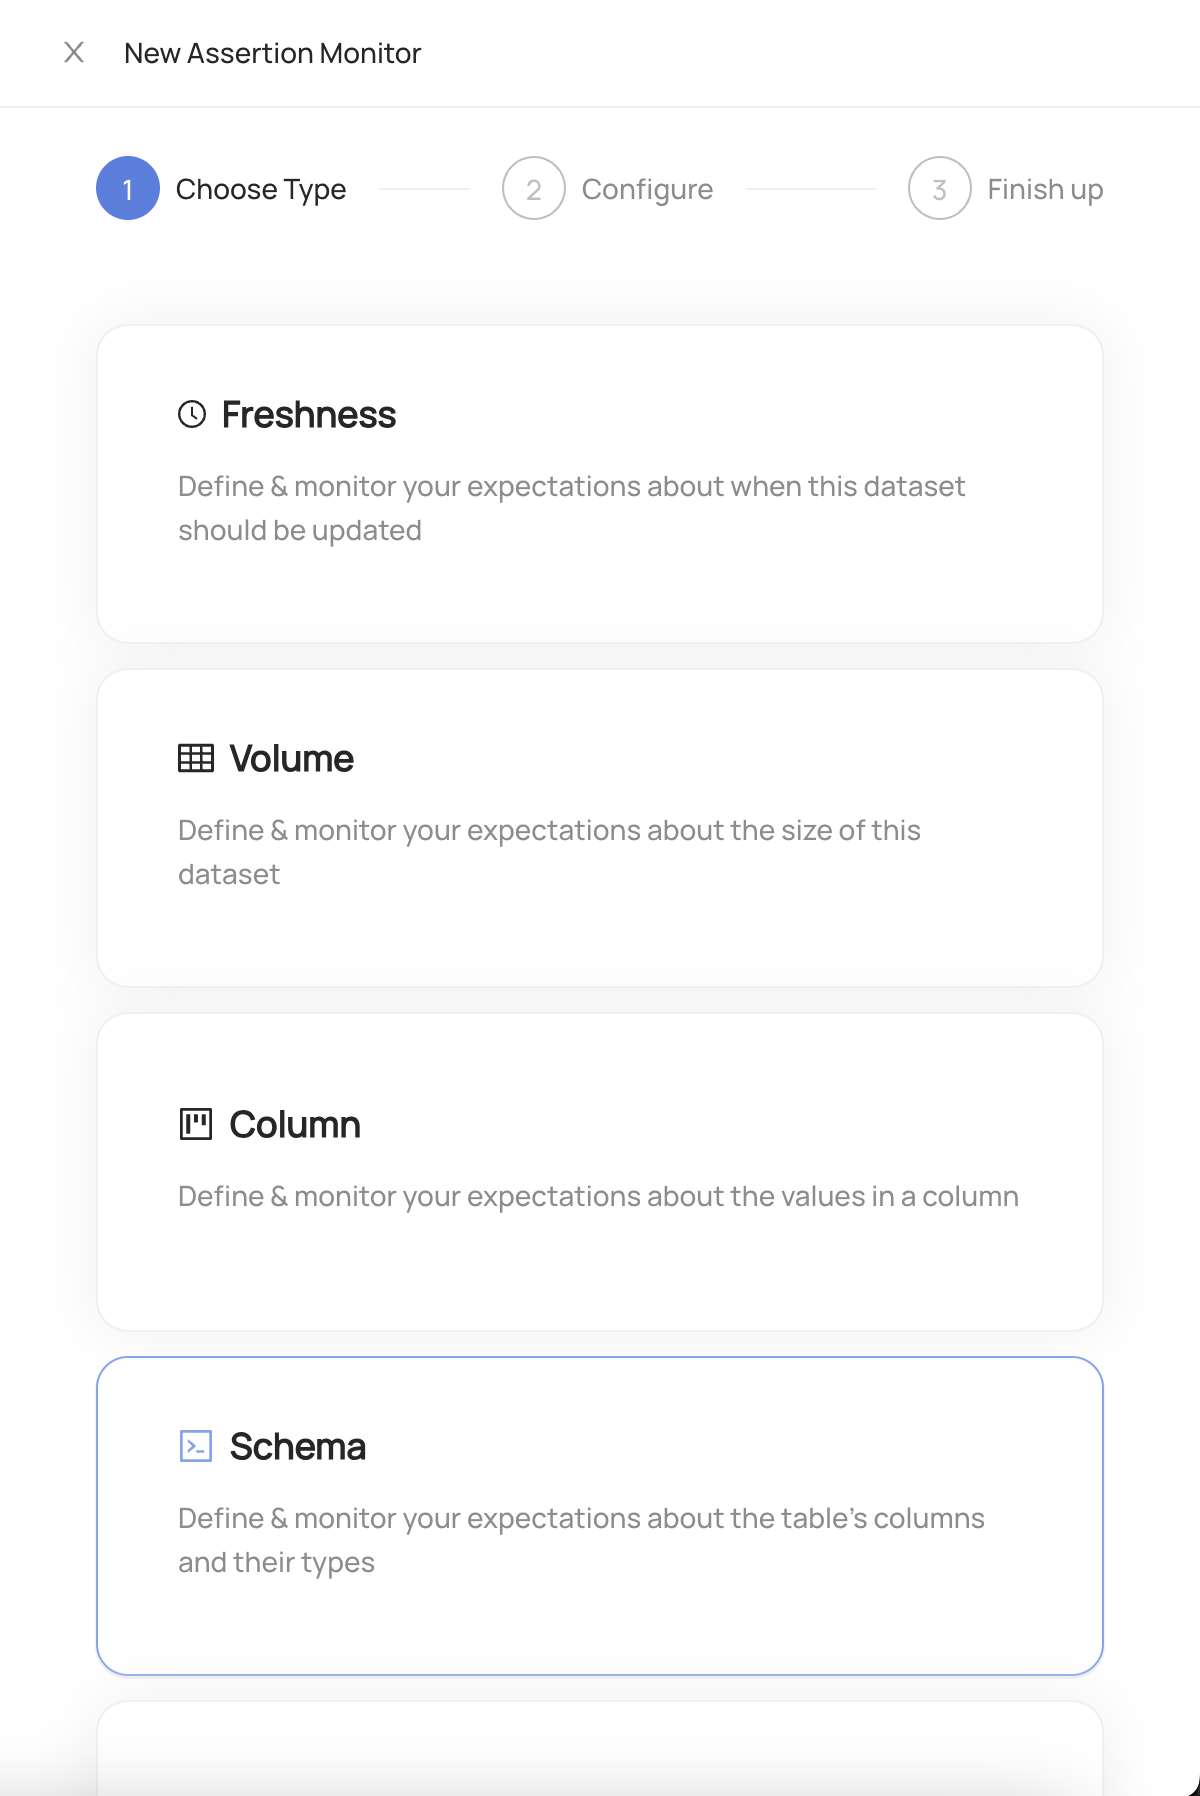
Choose Schema
Select the condition type.
Define the expected columns that will be continually compared against the actual column set. This defaults to the current columns for the table.
- Configure actions that should be taken when the assertion passes or fails
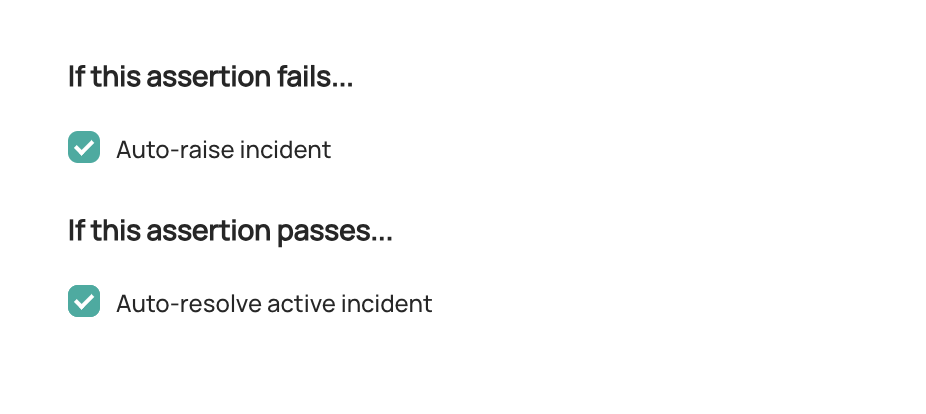
Raise incident: Automatically raise a new DataHub Incident for the Table whenever the Custom SQL Assertion is failing. This may indicate that the Table is unfit for consumption. Configure Slack Notifications under Settings to be notified when an incident is created due to an Assertion failure.
Resolve incident: Automatically resolved any incidents that were raised due to failures in this Custom SQL Assertion. Note that any other incidents will not be impacted.
Then click Next.
- (Optional) Add a description for the assertion. This is a human-readable description of the assertion. If you do not provide one, a description will be generated for you.

- Click Save.
And that's it! DataHub will now begin to monitor your Schema Assertion for the table.
Once your assertion has run, you will begin to see Success or Failure status:
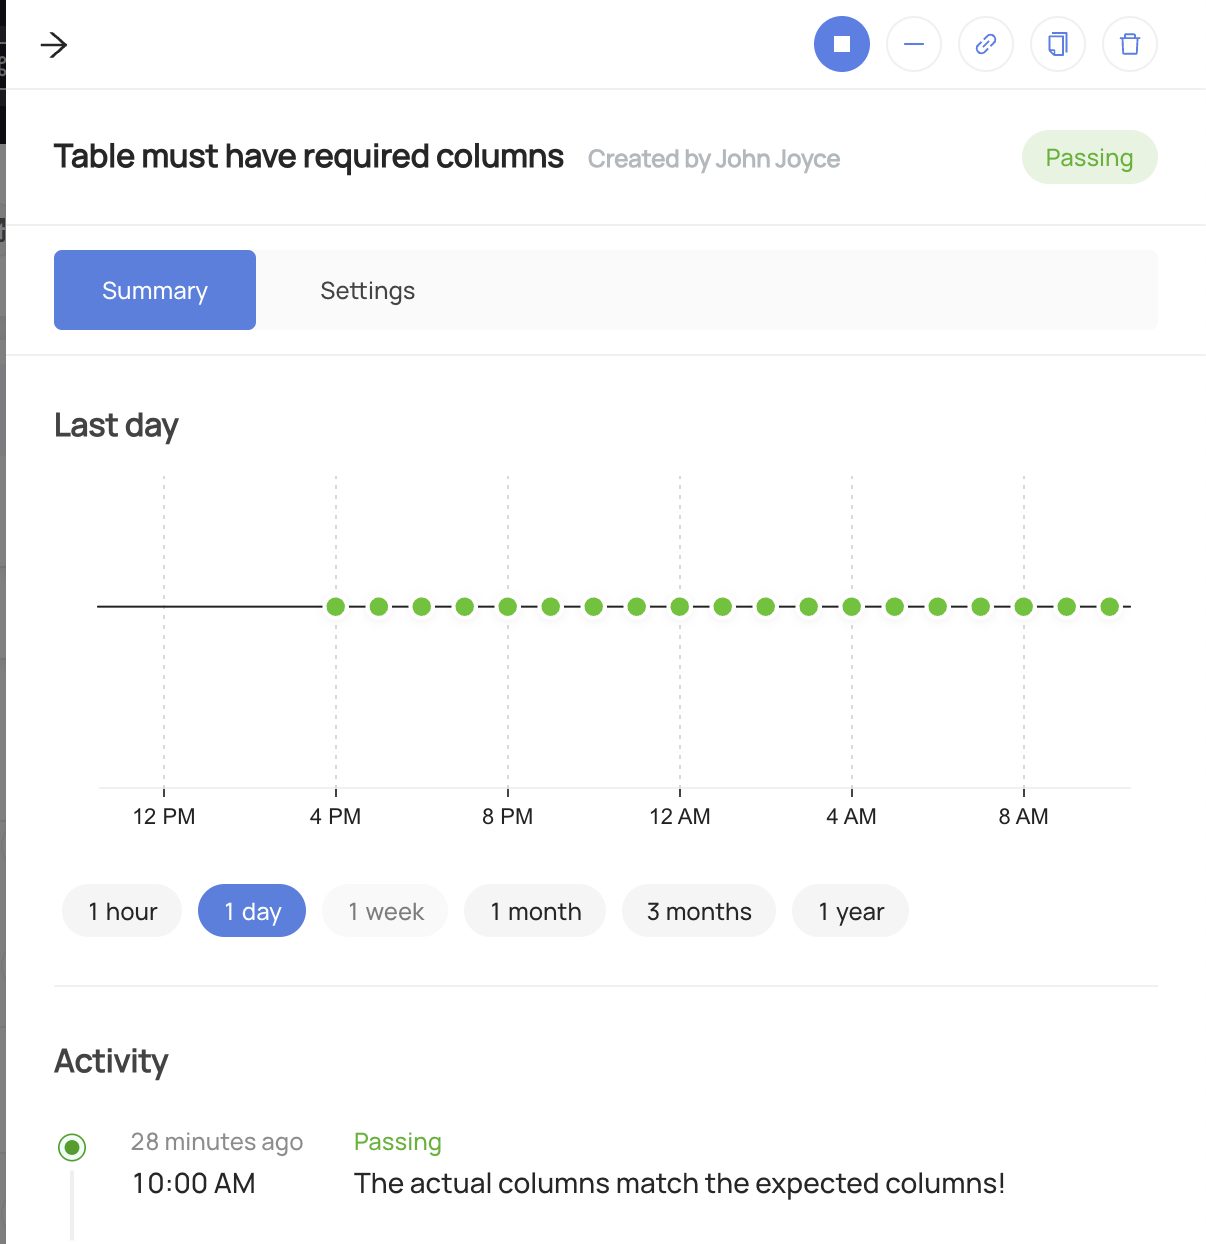
Stopping a Schema Assertion
In order to temporarily stop the evaluation of the assertion:
- Navigate to the Validations tab of the Table with the assertion
- Click Schema to open the Schema Assertion
- Click the "Stop" button.
To resume the assertion, simply click Start.
Creating Schema Assertions via API
Note that to create or delete Assertions and Monitors for a specific entity on DataHub, you'll need the
Edit Assertions and Edit Monitors privileges to create schema assertion via API.
GraphQL
In order to create a Schema Assertions, you can use the upsertDatasetSchemaAssertionMonitor mutation.
Examples
To create a Schema Assertion that checks for a the presence of a specific set of columns:
mutation upsertDatasetSchemaAssertionMonitor {
  upsertDatasetSchemaAssertionMonitor(
      input: {
        entityUrn: "<urn of the table to be monitored>",
        assertion: {
          compatibility: SUPERSET, # How the actual columns will be compared against the expected fields (provided next)
          fields: [
            {
              path: "id",
              type: STRING
            },
            {
              path: "count",
              type: NUMBER
            },
            {
              path: "struct",
              type: STRUCT
            },
            {
              path: "struct.nestedBooleanField",
              type: BOOLEAN
            }
          ]
        },
        description: "<description of the schema assertion>",
        mode: ACTIVE
      }
  )
}
The supported compatibility types are EXACT_MATCH and SUPERSET (Contains).
You can use same endpoint with assertion urn input to update an existing Schema Assertion, simply add the assertionUrn field:
mutation upsertDatasetSchemaAssertionMonitor {
    upsertDatasetSchemaAssertionMonitor(
        assertionUrn: "urn:li:assertion:existing-assertion-id",
        input: {
            entityUrn: "<urn of the table to be monitored>",
            assertion: {
                compatibility: EXACT_MATCH,
                fields: [
                    {
                        path: "id",
                        type: STRING
                    },
                    {
                        path: "count",
                        type: NUMBER
                    },
                    {
                        path: "struct",
                        type: STRUCT
                    },
                    {
                        path: "struct.nestedBooleanField",
                        type: BOOLEAN
                    }
                ]
            },
            description: "<description of the schema assertion>",
            mode: ACTIVE
        }
    )
}
You can delete assertions along with their monitors using GraphQL mutations: deleteAssertion and deleteMonitor.
Tips
Authorization
Remember to always provide a DataHub Personal Access Token when calling the GraphQL API. To do so, just add the 'Authorization' header as follows:
Authorization: Bearer <personal-access-token>
Exploring GraphQL API
Also, remember that you can play with an interactive version of the Acryl GraphQL API at https://your-account-id.acryl.io/api/graphiql